Happy Monday, Everyone!
We had a fantastic weekend involving visiting, garage saling, baking, celebrating the fathers in our lives, and--at least for Ms. Bumble and her hubby--driving driving DRIVING! Good times were had by all and we hope your weekends' were fabulous as well!
After every weekend comes the dreaded M-word: Monday. BUT never fear! We have something to share with you that will make your Monday into a FUNday (cheesy? TOO BAD!)

What is it, you might ask, that could possibly lift my sunken spirits on this most odious day of the week? The answer is simple: Bread. What's not to love about bread? It smells good, tastes good, and can be very nutritious--not to mention that for most of us, bread is a major component of at least one meal per day. This bread recipe is vegan and GF (bonus!) and is SO easy to make you really just have to give it a go! It is a yeasty flatbread and believe it or not it stays flexible, soft, and chewy even though it is GF!
Flatbread: Vegan, GF, and Fast!
1/2 cups brown rise flour
1/2 cup millet flour
1/2 cup potato starch
1/2 cup tapioca starch
2 tbsp yeast
4 tsp xantham gum (can use guar gum but yields a denser, more chewy bread)
1 1/2 cups warm water
3 teaspons liquid sweetner (honey, agave, maple syrup)
2 tsp olive oil
2 tsp apple cider vinegar
1 tsp salt
Spices if desired (don't overburden your dough)
Pre-heat oven to 400F
Step 1: Mix all dry ingredients together well.
Step 2: Combine all wet ingredients in a separate bowl. Add to dry and mix well.
You will have a sticky dough that holds to itself. Pour/scoop this dough out onto a baking sheet that has been lined with PARCHMENT PAPER (trust me on this: use parchment paper and nothing else! It is crucial~) and use a spatula dipped in warm water to help you spread the dough out into a rectangular shape on the tray. When you have it spread out evenly, place in your oven and bake for approximately 35 minutes or until golden brown on top. You will likely see bubbles forming in the dough suring baking: this is good! When it has cooked, remove it from the oven on the tray and let cool for 20-30 minutes before cutting.
[ The original recipe doesn't call for you to allow the yeast to proof in the warm water and honey mixtures so I haven't done this HOWEVER feel free to try it out because I suspect it will yield a fluffier bread!]
 |
| Flatbread: finished! |
Ms. Rabbit and Ms. Bumble used these little flatbreads to make pizzas this weekend (carmalized onions, sauteed mushrooms, garlic, olive oil! mmmmm) but you could do any number of things with them! While they are fresh, they are flexible enough to be used as hotdog buns! You could grill up some veggies and make a delicious open faced sandwich. You would even take the sweeter path and lightly brush the top with some vegan margarine (Earth Balance or Becel vegan margarine) and sprinle some cinnamon sugar on there and have a nice, warm, oven toasted "french toast" in the morning!
I know these will be a staple in my home from now on and I hope you enjoy them! If you find a new way to use the finished bread or try your hand at modifying the base recipe (successfully or not!) we would love to hear from you! Drop us a line in the comment box below!
Happy Monday! xx


 I had a little time this afternoon so I decided to make some blueberry muffins! While I really like muffins, mostly this was an excuse to use the adorable muffin tin liners that Ms. Rabbit gave to me a few weeks back! They are so sweet and summery, I couldn't resist them any longer!
  The BabyCakes recipe calls for spelt flour which is low in gluten, but not gluten-free. That being the case, I made my own GF flour mixture out of the following:
 Also, when I went to my cuboard I realised I was out of agave (Zut Alors!) and so I got to thinking abd decided that one banana mashed up really well would add the sweetness that I needed and some extra moisture as well! You could, of course, use maple syrup, honey, or plain old sugar in place.
 2 tsp baking powder
 Happy Monday, Everyone! We thought we would start off our Monday by sharing some of our latest creative projects with you!
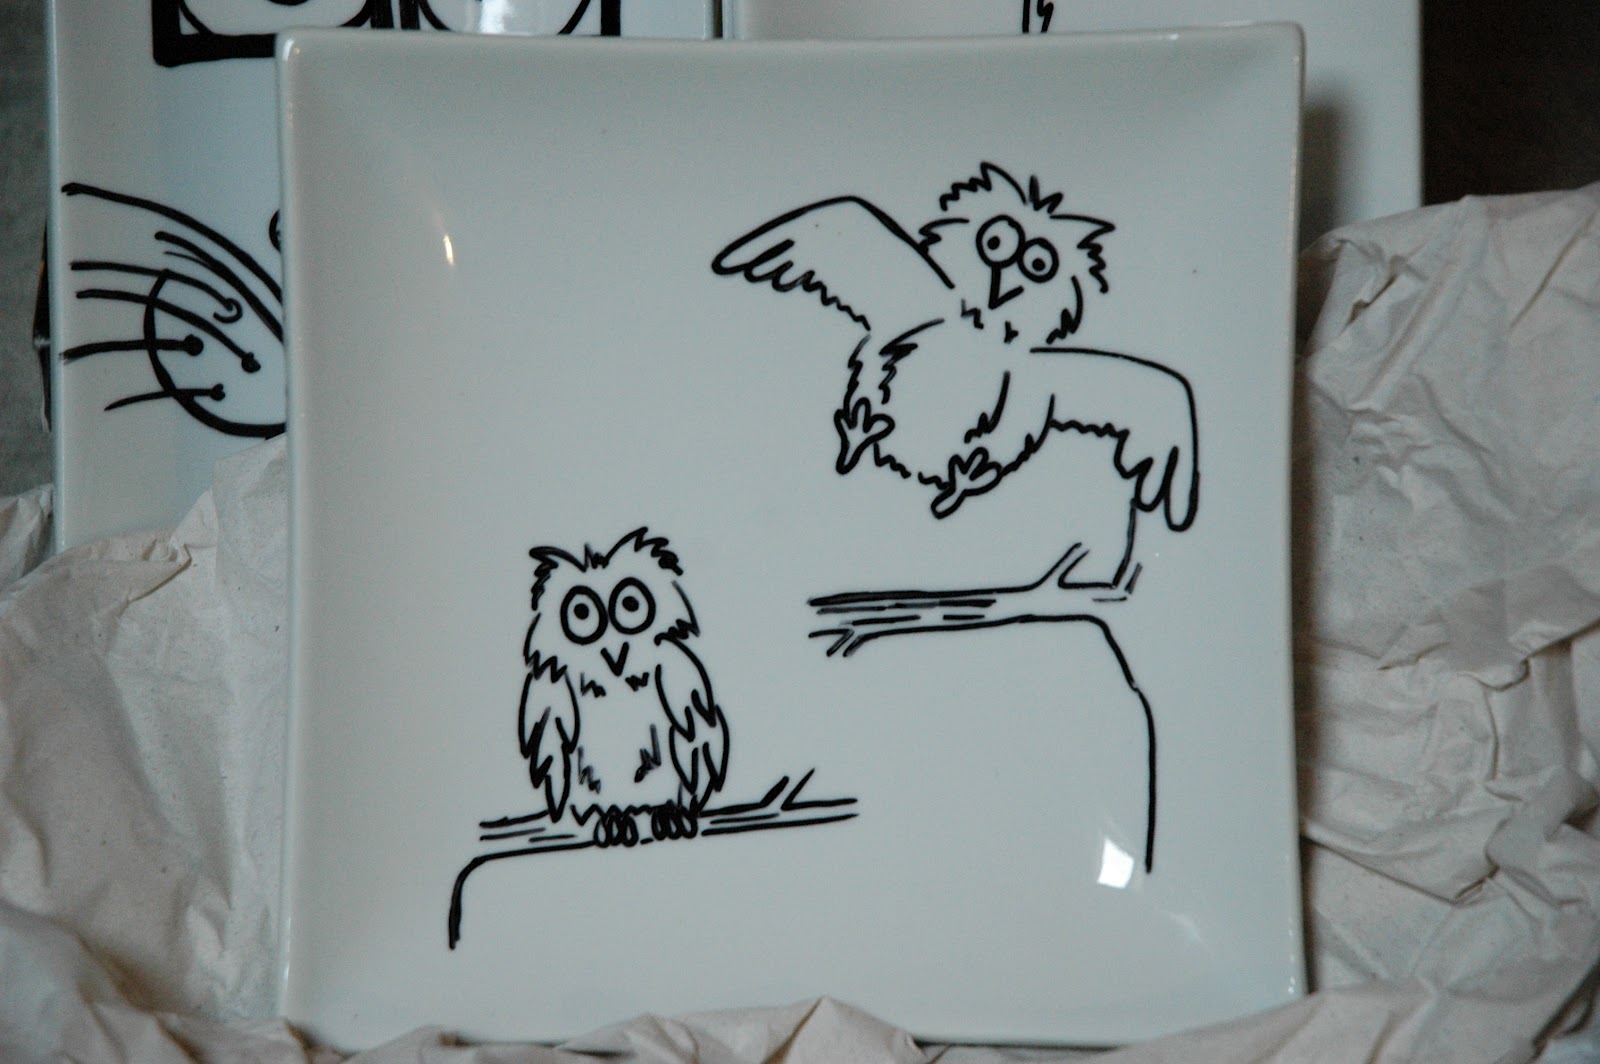 These little dishes were just some simple, white plates and bowls that we came across and then embellished with some porcelain paint! Great for displaying candles, candies or anything else you can think of these dishes would also be neat hung on a wall!
 The little characters to the left are made from recylced t.p. rolls and hand painted with acryclic paint. On the suggestion of a friend, these little guys may end up as finger puppets! Alternatively, we had thought to attach a cloth sac on the inside so they could be used as goodie-bags or party favours for a child's party!
  While Amber was busy painting that gorgeous Mr. Fox, I tried my hand at painting and a few other things!


 Combine 1 1/2 oz of whisky with coke (diet coke, pepsi, or even rootbeer could be delightful!) in a tall glass with a few cubes of ice. Throw in a 1/2 tsp of vanilla extract and a few fresh (or frozen) raspberries and, Voila! A fresh, not overly sweet drink for a summer evening!


 What is it, you might ask, that could possibly lift my sunken spirits on this most odious day of the week? The answer is simple: Bread. What's not to love about bread? It smells good, tastes good, and can be very nutritious--not to mention that for most of us, bread is a major component of at least one meal per day. This bread recipe is vegan and GF (bonus!) and is SO easy to make you really just have to give it a go! It is a yeasty flatbread and believe it or not it stays flexible, soft, and chewy even though it is GF!


.JPG)
.JPG)